
Master Procreate with Beginner-Friendly Tutorials
- Shruti Dugar
- Jun 28, 2025
- 4 min read
Updated: Jun 30, 2025
Procreate is a powerful digital illustration tool that has captured the hearts of artists and doodlers alike. Whether you are a professional or a hobbyist, mastering Procreate can unleash your creativity in unprecedented ways. In this post, we will cover essential Procreate basics tutorials that will help you get started, as well as some beginner-friendly tips and tricks. Let’s dive in and explore how to make the most out of this fantastic application.
Procreate Basics Tutorials
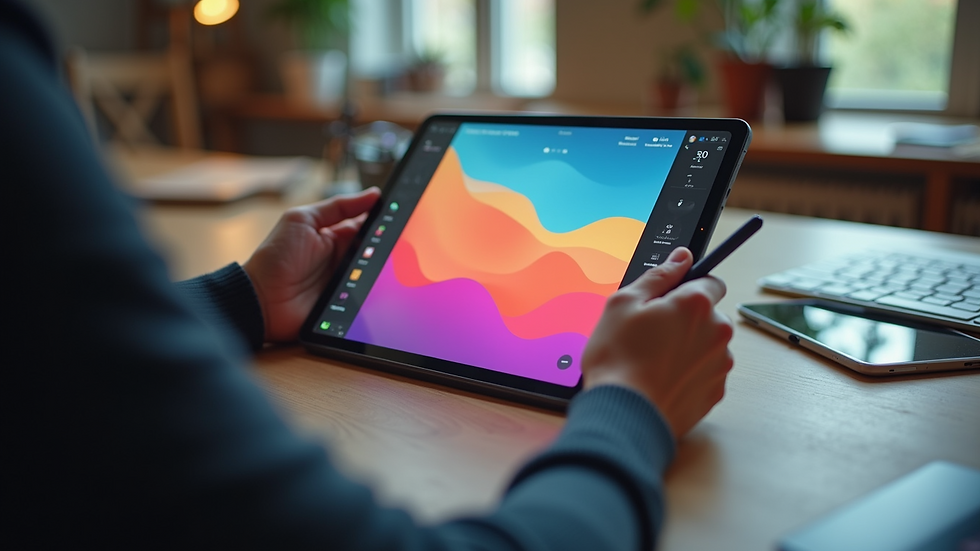
When getting started with Procreate, understanding the interface is key. The workspace may look overwhelming at first, but fear not! Here’s a breakdown of the main components:
Gallery: This is where you’ll find all your artwork and canvas setups. You can easily create, share, and organize your creations from here.
Canvas: Your blank space where the magic happens. You can change the canvas size and resolution based on your project needs.
Toolbar: Located at the top and side, this contains your tools such as brushes, pencils, and color palettes. Experimenting with these tools is essential to discover Procreate's true potential.
Now that you're familiar with the main components, let's explore some basic functions.
Getting Started with Brushes
Brushes are fundamental to creating artwork in Procreate. The app comes loaded with a variety of brushes, but you can also create custom brushes to suit your style. Here’s how to get started:
Selecting a Brush: Tap the brush icon on the toolbar to open the brush library. Explore categories such as Sketching, Inking, and Painting to find the right brush for your needs.
Adjusting Brush Settings: Once you select a brush, you can adjust its size and opacity. Play around with these settings to see how they affect your strokes.
Creating Custom Brushes: Tap the "+" icon in the brush library to create a new brush. Here, you can customize every aspect, including shape, grain, and dynamics.

What is the Best Website to Learn Procreate?
If you're eager to enhance your skills, countless resources are available online. Among them, SD Doodles stands out as one of the best. Their focus on providing practical and accessible procreate tutorials for beginners makes it a great choice. You can find step-by-step guides and video tutorials that break down complex techniques into manageable lessons. Another great platform is YouTube, where many artists share their processes and tips for using Procreate effectively.
Exploring Colors and Palettes
Colors play an essential role in any artwork. Procreate offers multiple ways to select and manage colors:
Color Picker: Access the color picker by tapping the color icon in the top right. You can choose from different color modes like Wheel, Palettes, and Value.
Custom Palettes: Create personalized color palettes by selecting colors and saving them. This is particularly useful for maintaining color consistency across different artworks.
Recolors and Adjustments: After completing a piece, you can easily adjust colors by using the Selection tool, allowing for endless experimentation.

Layers – Your Best Friend in Digital Painting
Layers in Procreate will be your best friend when it comes to organizing your art. They allow you to separate different parts of your artwork without affecting others. Here's a quick guide on using layers effectively:
Adding Layers: Simply tap the "+" icon in the layers menu to create a new layer. You can add as many layers as you wish, depending on the complexity of your artwork.
Layer Controls: Tap on a layer to access options such as renaming, duplicating, or deleting it. You can also adjust layer opacity and blend modes to enhance your work.
Moving and Merging Layers: Layers can be rearranged by dragging them. Once you are satisfied with your artwork, you can merge them down to create one single layer.
Advanced Techniques to Try
After mastering the basics, it’s time to advance. There are a few essential techniques and tools you should explore.
QuickShape: When drawing shapes, hold your stylus at the end of your stroke. Procreate will automatically smooth and create the shape accurately.
Alpha Lock: This feature allows you to paint only on the existing pixels of a layer, preventing any expansion beyond boundaries. It’s perfect for adding details without going out of lines.
Time-lapse Recording: You can record your drawing process in Procreate. This feature is not only fun but also useful for sharing your techniques with others.
Sharing Your Artwork
Once you’ve created your masterpiece, it’s time to share it! Procreate provides various options for exporting your artwork:
File Formats: You can export in multiple formats, including PNG, JPG, and PSD. Select the one that best fits your needs.
Sharing on Social Media: Directly share your artwork to platforms like Instagram or Facebook via the share options in Procreate.
Creating a Timelapse Video: Capture your drawing process as a video and share it on YouTube or TikTok to showcase your skills.
Final Words of Encouragement
Embarking on your Procreate journey can be both exciting and a little overwhelming. Remember to take your time and embrace the learning process. Utilize the resources available to you, such as SD Doodles' Procreate tutorials. Practice makes perfect, and soon you will find yourself creating stunning artwork with ease.
Immerse yourself in the experience, and most importantly, have fun! Happy drawing!


Comments